canvas
Canvas API
- The Canvas API provides a means for drawing graphics via JavaScript and the HTML CANVAS element. Among other things, it is used for animation, game graphics, data visualization, photo manipulation, and real-time video processing.
Sample Code
Basic Example
JavaScript
HTML
<canvas id="canvas"></canvas>JavaScript
const canvas = document.getElementById('canvas');
const ctx = canvas.getContext('2d');

ctx.fillStyle = 'green';
ctx.fillRect(10, 10, 150, 100);
React
const canvasRef = useRef<HTMLCanvasElement>(null);
<canvas ref={canvasRef} />;

const ctx = canvasRef.current.getContext('2d');
ctx.fillStyle = 'green';
ctx.fillRect(10, 10, 150, 100);
Libraries
- EaselJS is an open-source canvas library that makes it easy to create games, generative art, and other highly graphical experiences.
- Fabric.js is an open-source canvas library with SVG parsing capabilities.
- heatmap.js is an open-source library for creating canvas-based data heatmaps.
- JavaScript InfoVis Toolkit creates interactive data visualizations.
- Konva.js is a 2D canvas library for desktop and mobile applications.
- p5.js includes a full set of canvas drawing functionality for artists, designers, educators, and beginners.
- Paper.js is an open-source vector graphics scripting framework that runs on top of the HTML5 Canvas.
- Phaser is a fast, free, and fun open-source framework for Canvas- and WebGL-based browser games.
- Processing.js is a port of the Processing visualization language.
- Pts.js is a library for creative coding and visualization using canvas and SVG.
- Rekapi is an animation keyframe API for Canvas.
- Scrawl-canvas is an open-source JavaScript library for creating and manipulating 2D canvas elements.
- ZIM is a framework that provides conveniences, components, and controls for creative coding on canvas. It includes accessibility support and a wide range of tutorials.
Basic Usage
The canvas element
// HTML
<canvas id="tutorial" width="300" height="150"></canvas>; // width, height 지정하지 않을 경우 width: 300px, height: 150px로 설정됨

// Javascript
const canvas = document.getElementById('canvas');
canvas.width = 300;
canvas.height = 150;
Fallback content
<canvas id="stockGraph" width="150" height="150">
  current stock price: $3.15 +0.15
</canvas>

<canvas id="clock" width="150" height="150">
  <img src="assets/clock.png" width="150" height="150" alt=""/>
</canvas>
The rendering context
- The canvas element only creates the drawing surface. To render content, you must create a rendering context and draw through that context.
var canvas = document.getElementById('tutorial');
var ctx = canvas.getContext('2d');
Checking for support
var canvas = document.getElementById('tutorial');

if (canvas.getContext) {
  var ctx = canvas.getContext('2d');
  // drawing code here
} else {
  // canvas-unsupported code here
}
Drawing Shapes
Drawing Rectangles
fillRect(x, y, width, height) (en-US)
Draws a filled rectangle.
strokeRect(x, y, width, height) (en-US)
Draws a rectangular outline.
clearRect(x, y, width, height) (en-US)
Clears the specified rectangular area, making it fully transparent.
const cx = x;
const cy = y;
const cw = w;
const ch = h;

ctx.save();
ctx.clearRect(cx, cy, cw, ch); // 캔버스 지우기

if (props && props.outline === true) {
  ctx.strokeStyle = props.color; // 외곽선 색상
  ctx.strokeRect(cx, cy, cw, ch); // 사각형 그리기(외곽선)
} else {
  ctx.fillStyle = props.color; // 채우기 색상
  ctx.fillRect(cx, cy, cw, ch); // 사각형 그리기(채우기)
}

ctx.restore();
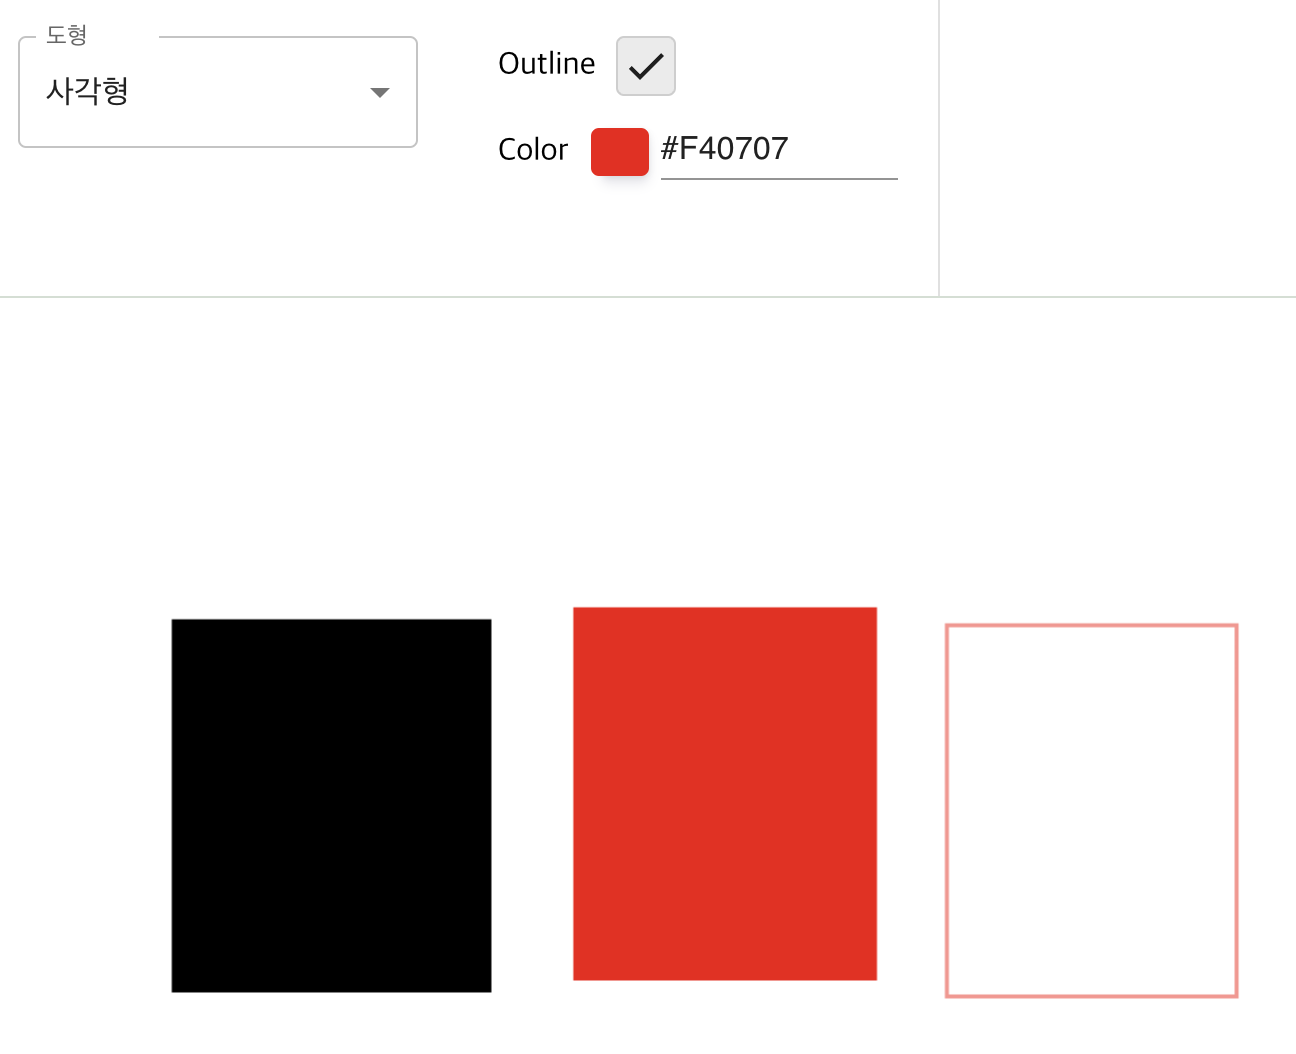
fillRect, strokeRect, color example
Drawing Paths
Creates a new path. Once a path is created, subsequent drawing commands are used to build and shape the path.
Adds a straight line connecting to the start of the current sub-path.
Draws a shape using its outline.
Fills the interior of the path, drawing a shape with its inside filled.
Moves to the new x, y coordinates.
Adds a line based on the coordinates you moved to.
Path methods (Path methods)
These are functions used to set the various paths needed when constructing an object.
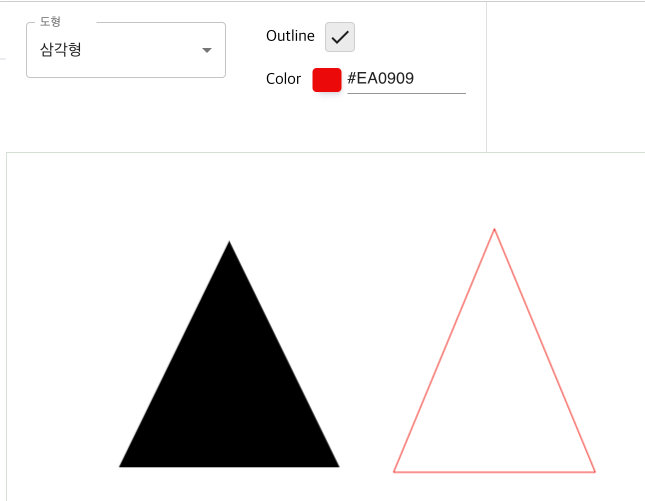
Drawing a triangle
const cx1 = x1;
const cy1 = y1;
const cx2 = x2;
const cy2 = y2;
const cx3 = x3;
const cy3 = y3;

ctx.save();
ctx.beginPath();
ctx.moveTo(cx1, cy1); // cx1, cy2 포인트 좌표값으로 이동
ctx.lineTo(cx2, cy2); // cx2, cy2 포인트 좌표값으로 라인추가
ctx.lineTo(cx3, cy3); // cx3, cx3 포인트 좌표값으로 라인추가
ctx.lineTo(cx1, cy1); // cx1, cy1 포인트 좌표값으로 라인추가
if (props && props.outline === true) {
  ctx.strokeStyle = props.color; // 외곽선 컬러
  ctx.stroke(); // 외곽선 그리기
} else {
  ctx.fillStyle = props.color; // 채우기 컬러
  ctx.fill(); // 채우기 그리기
}

ctx.closePath();
ctx.restore();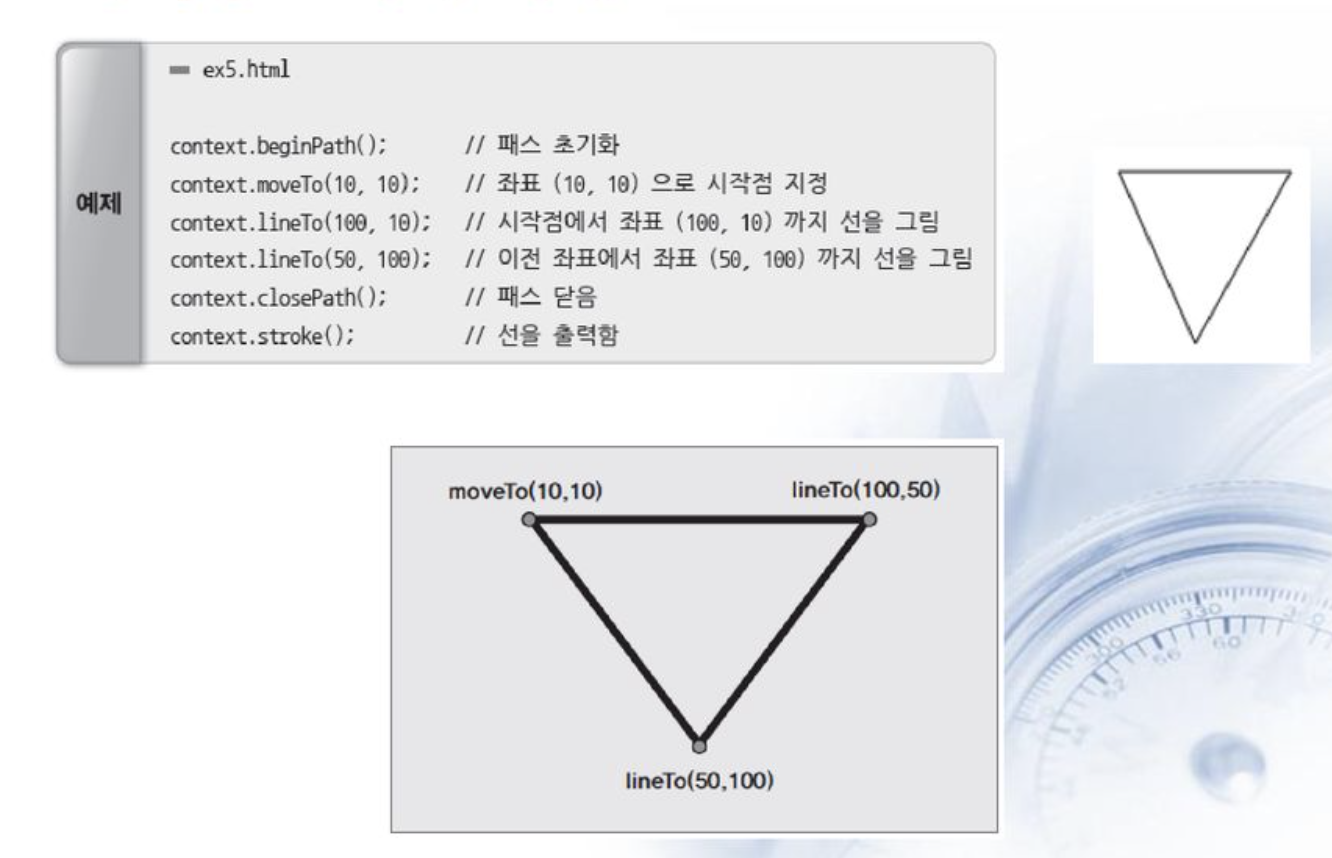
Drawing a line
Sets the thickness of lines drawn afterward.
Sets the shape of the line's end caps.
Sets the shape of the "corners" where lines meet.
const cx1 = x1 * scale;
const cy1 = y1 * scale;
const cx2 = x2 * scale;
const cy2 = y2 * scale;

ctx.save();
ctx.beginPath();
ctx.moveTo(cx1, cy1);
ctx.lineWidth = 6;
ctx.lineCap = 'round';
ctx.lineJoin = 'round';
ctx.strokeStyle = props.color;
ctx.lineTo(cx2, cy2);

if (props.line.join === 'round') {
  ctx.lineTo(cx2, cy1);
  ctx.lineTo(cx1, cy2);
}

ctx.stroke();
ctx.closePath();
ctx.restore();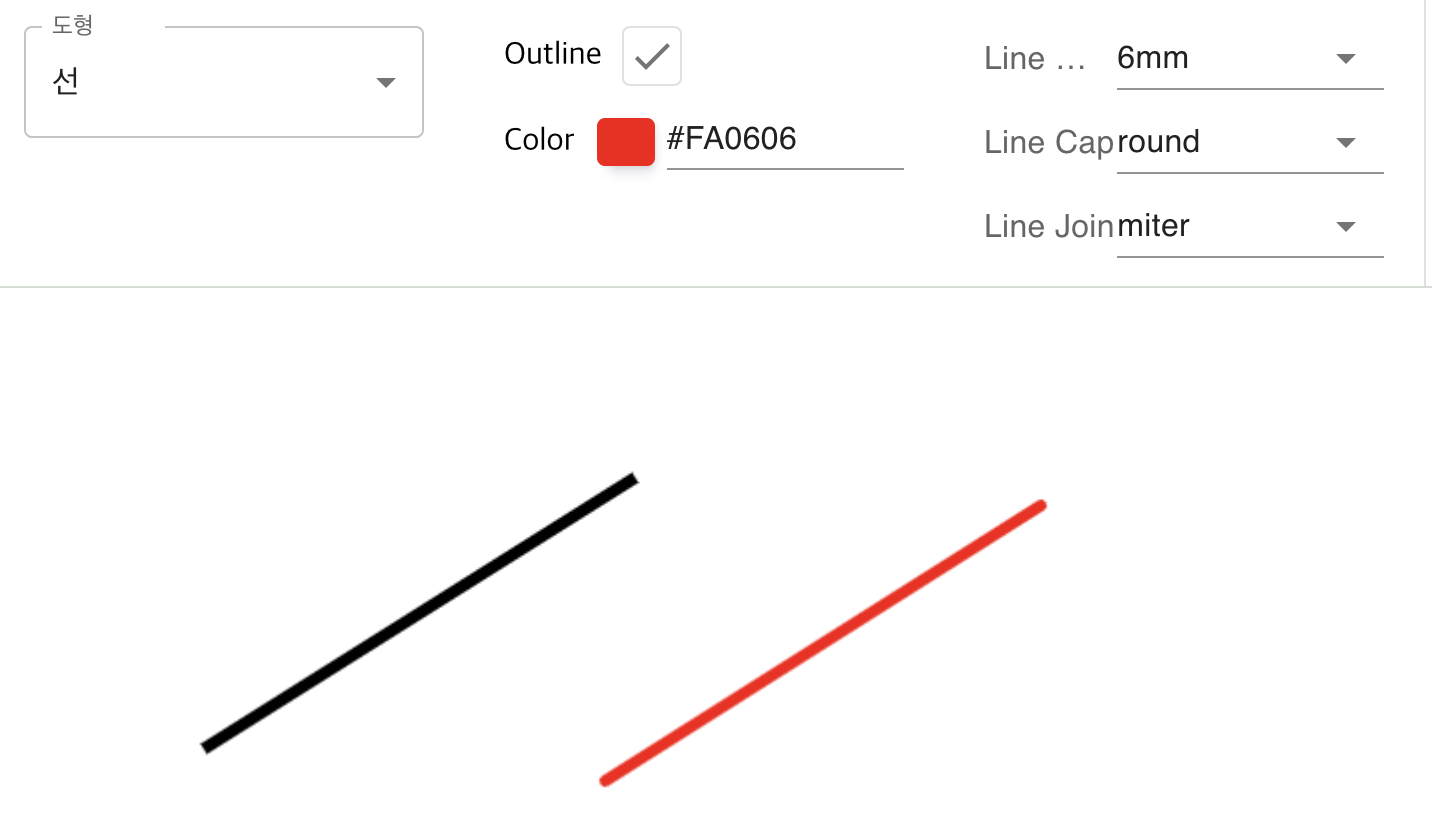
Drawing Circles
Drawing an arc
arc(x, y, radius, startAngle, endAngle, anticlockwise) (en-US)
Draws an arc centered at position (x, y) with radius r, starting at startAngle and ending at endAngle, going in the given anticlockwise direction (the default is clockwise rotation).
arcTo(x1, y1, x2, y2, radius) (en-US)
Draws an arc with the given control points and radius, connected to the previous point by a straight line.
ellipse(x, y, radiusX, radiusY, rotation, startAngle, endAngle [, counterclockwise]) (en-US)
Draws an ellipse centered at position (x, y) with radii x/y, starting at startAngle and ending at endAngle.
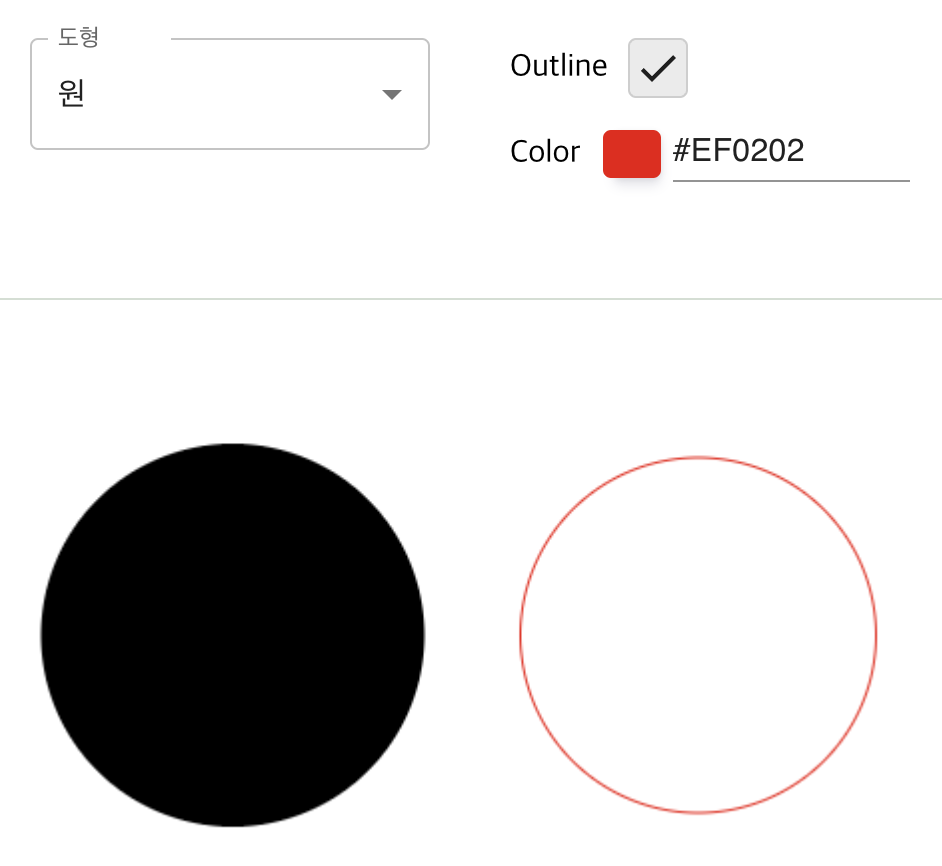
const cx1 = x1;
const cy1 = y1;
const cx2 = x2;
const cy2 = y2;

ctx.save();
ctx.beginPath();
ctx.arc(
  cx1 + (cx2 - cx1) / 2, // center.x
  cy1 + (cy2 - cy1) / 2, // center.y
  Math.abs(cy2 - cy1) / 2, // radius
  0, // starting angle
  Math.PI * 2, // ending angle
  true, // 시계방향
);

// ctx.ellipse(
//   cx1 + (cx2 - cx1) / 2,
//   cy1 + (cy2 - cy1) / 2,
//   Math.abs(cx2 - cx1) / 2,
//   Math.abs(cy2 - cy1) / 2,
//   0,
//   0,
//   Math.PI * 2,
// );
if (props && props.outline === true) {
  ctx.strokeStyle = props.color;
  ctx.stroke();
} else {
  ctx.fillStyle = props.color;
  ctx.fill();
}

ctx.closePath();
ctx.restore();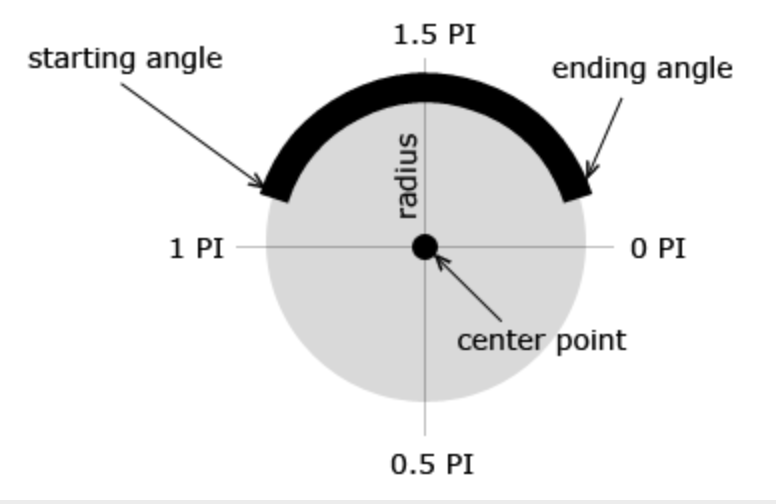
Drawing Text
fillText(text, x, y [, maxWidth]) (en-US)
Fills the given text at the given (x, y) position. The maximum width is optional.
strokeText(text, x, y [, maxWidth]) (en-US)
Strokes the given text at the given (x, y) position. The maximum width is optional.
The current text style used when drawing text. This string uses the same syntax as the CSS font property. The default is 10px sans-serif.
Sets the text alignment. Available values: start, end, left, right, center. The default is start.
Sets the baseline alignment. Available values: top, hanging, middle, alphabetic, ideographic, bottom. The default is alphabetic.
- Description
- top: The baseline is placed at the top of the text.
- middle: The baseline is placed at the middle of the text.
- bottom: The baseline is placed at the bottom of the text.
- alphabetic: Aligns to the baseline of the alphabet. This is the default.
- hanging: Aligns to the top of the characters. Indic languages use this method.
- ideographic: Used by square characters such as Chinese and Japanese. The baseline is positioned slightly lower than the alphabetic one.
Text direction. Available values: ltr, rtl, inherit. The default is inherit.
ctx.save();
ctx.textBaseline = 'top';
ctx.font = `${20 * scale}px Arial`;
ctx.fillStyle = '#ff0003';
ctx.fillText(text, x, y);
ctx.strokeStyle = '#ff0003';
ctx.strokeText(text, x, y);
ctx.restore();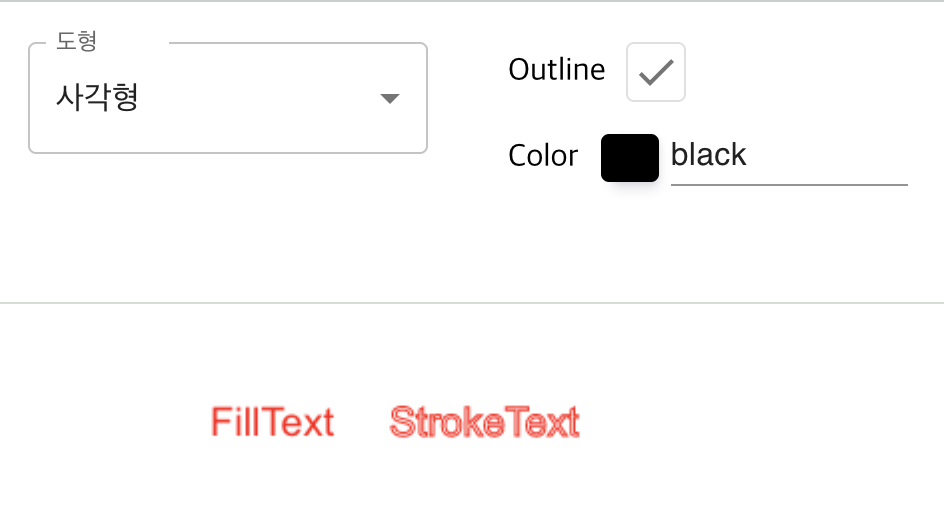
Drawing Images
drawImage(image, x, y) (en-US)
- Inserts the image at its original size
- image: an image (DOM image), a Canvas object, or a video element
- x: the x coordinate where the image is drawn
- y: the y coordinate where the image is drawn
drawImage(image, x, y, width, height) (en-US)
- Inserts the image at the specified size
- width: the image width
- height: the image height
drawImage(image, sx, sy, sWidth, sHeight, dx, dy, dWidth, dHeight) (en-US)
- Crops a portion of the image and inserts it
- sx: the x coordinate where the image is drawn
- sy: the y coordinate where the image is drawn
- sWidth: [optional] the image width / the clipping rectangle of the source
- sHeight: [optional] the image height / the clipping rectangle of the source
- dx: [optional] if cropped, the X coordinate of the destination image
- dy: [optional] if cropped, the Y coordinate of the destination image
- dWidth: [optional] if cropped, the width of the destination image
- dHeight: [optional] if cropped, the height of the destination image
Animation
Animation steps
- Clear the canvas (ctx.clearRect). Unless the shape you want to draw fills the entire canvas (as when creating a background image), you need to clear all previously drawn shapes. The easiest way is to use the clearRect() method.
- Save the canvas state (ctx.save). If you are going to change settings that affect the canvas state (style changes, transformations, etc.) and use the changed values for each frame, you need to save the original state.
- Draw the shapes to animate (ctx.fill, stroke~~). This is the step where the actual scene is drawn.
- Restore the canvas state (ctx.restore). Restore the saved state before drawing a new scene.
Calling a specific function at fixed intervals
- setInterval(function, delay)
- Starts repeatedly executing the function every delay milliseconds (thousandths of a second).
- setTimeout(function, delay)
- Executes the function after delay milliseconds (thousandths of a second) have elapsed.
- requestAnimationFrame(function)
- Executes the function in sync with the display's refresh rate.
const animation = () => {
    setMeta((prev) => ({
      ...prev,
      datas: prev.datas.map((data: any, index: number) => {
        if (index === 0) {
          const time = Math.floor(Math.random() * 5);
          const xdirection =
            data.animation.xdirection === 'reverse' && data.x1 < 0
              ? 'forward'
              : data.animation.xdirection === 'forward' &&
                data.x1 > window.innerWidth
              ? 'reverse'
              : data.animation.xdirection;
          const x1 = xdirection === 'forward' ? data.x1 + time : data.x1 - time;

          const ydirection =
            data.animation.ydirection === 'reverse' && data.y1 < 0
              ? 'forward'
              : data.animation.ydirection === 'forward' &&
                data.y1 > window.innerHeight - 150
              ? 'reverse'
              : data.animation.ydirection;
          const y1 = ydirection === 'forward' ? data.y1 + time : data.y1 - time;

          return {
            ...data,
            x1,
            y1,
            x2: x1 + 100,
            y2: y1 + 100,
            animation: {
              ...animation,
              xdirection,
              ydirection,
            },
          };
        }
        return data;
      }),
    }));
    requestAnimationFrame(animation);
  };

export const drawRect = (
  ctx: CanvasRenderingContext2D,
  x: number,
  y: number,
  w: number,
  h: number,
  scale: number,
  props: Property,
): void => {
  const cx = x;
  const cy = y;
  const cw = w;
  const ch = h;

  ctx.save();

  if (props && props.outline === true) {
    ctx.strokeStyle = props.color;
    ctx.strokeRect(cx, cy, cw, ch);
  } else {
    ctx.fillStyle = props.color;
    ctx.fillRect(cx, cy, cw, ch);
  }

  ctx.restore();
};

useEffect(() => {
  animation();
}, []);